

Most of what makes a great tile floor ends up hidden underneath it. So on this bathroom, we took photos the whole way through.
Here's one floor we just finished, from the day we opened it up to the day it was grouted and clean.
Where we started
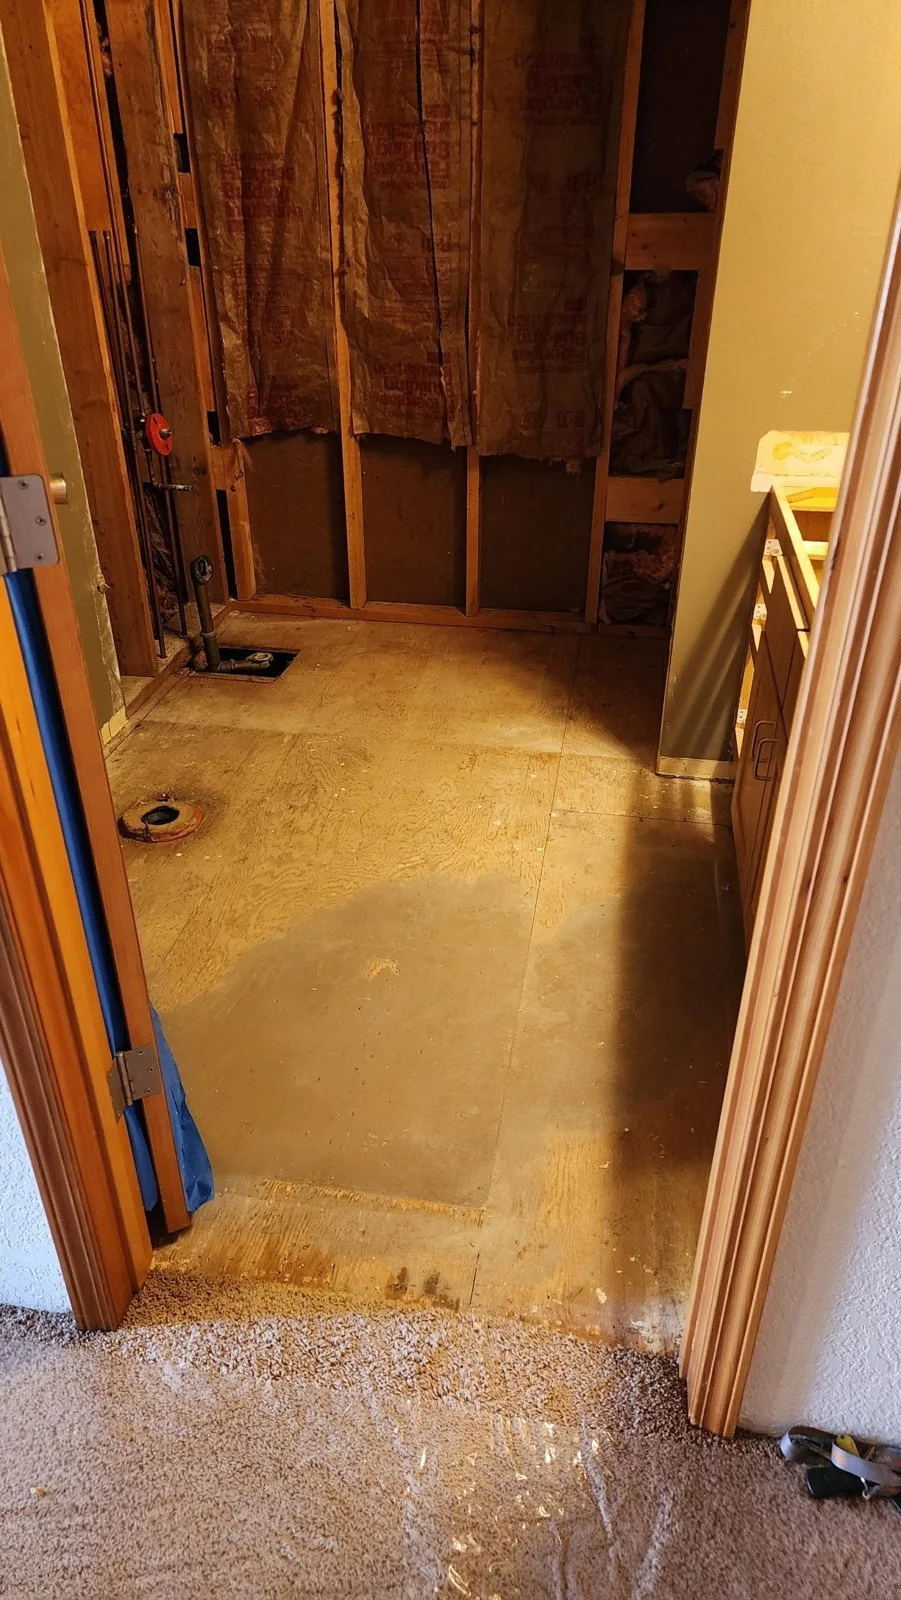
This is the bathroom with everything pulled out, down to the plywood subfloor. Not much to look at yet, but it's where the new floor begins.
The layer you'll never see
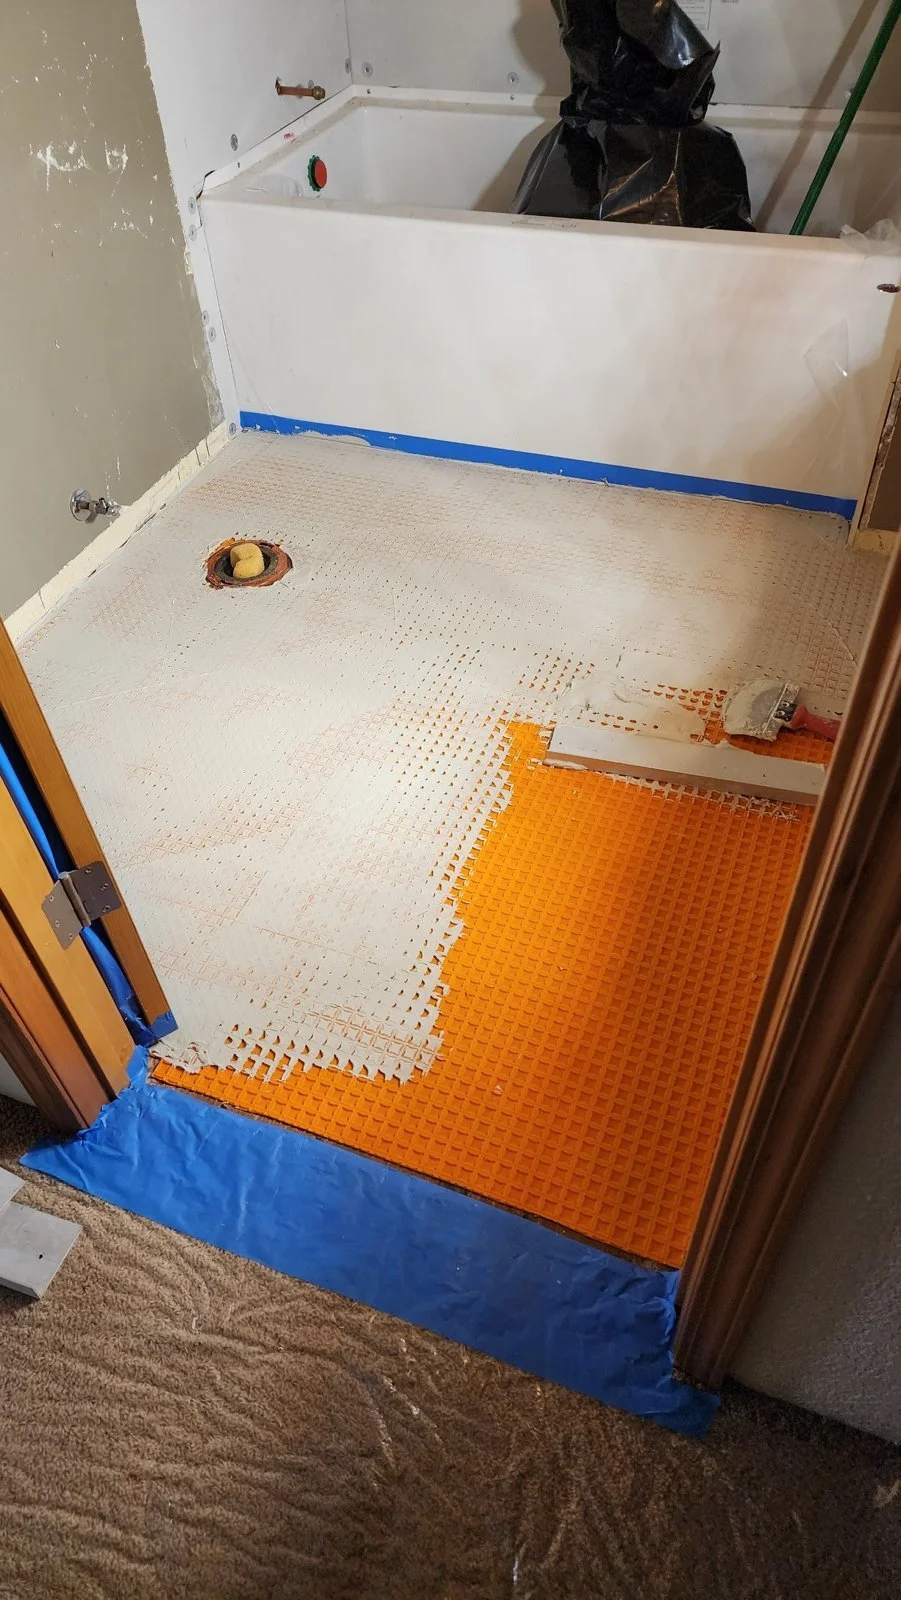
Next, a membrane went down over the subfloor, bedded in thinset. Once the tile is in, nobody will see it again. It's there to help the floor handle the house's normal movement for years to come.
Tile goes down
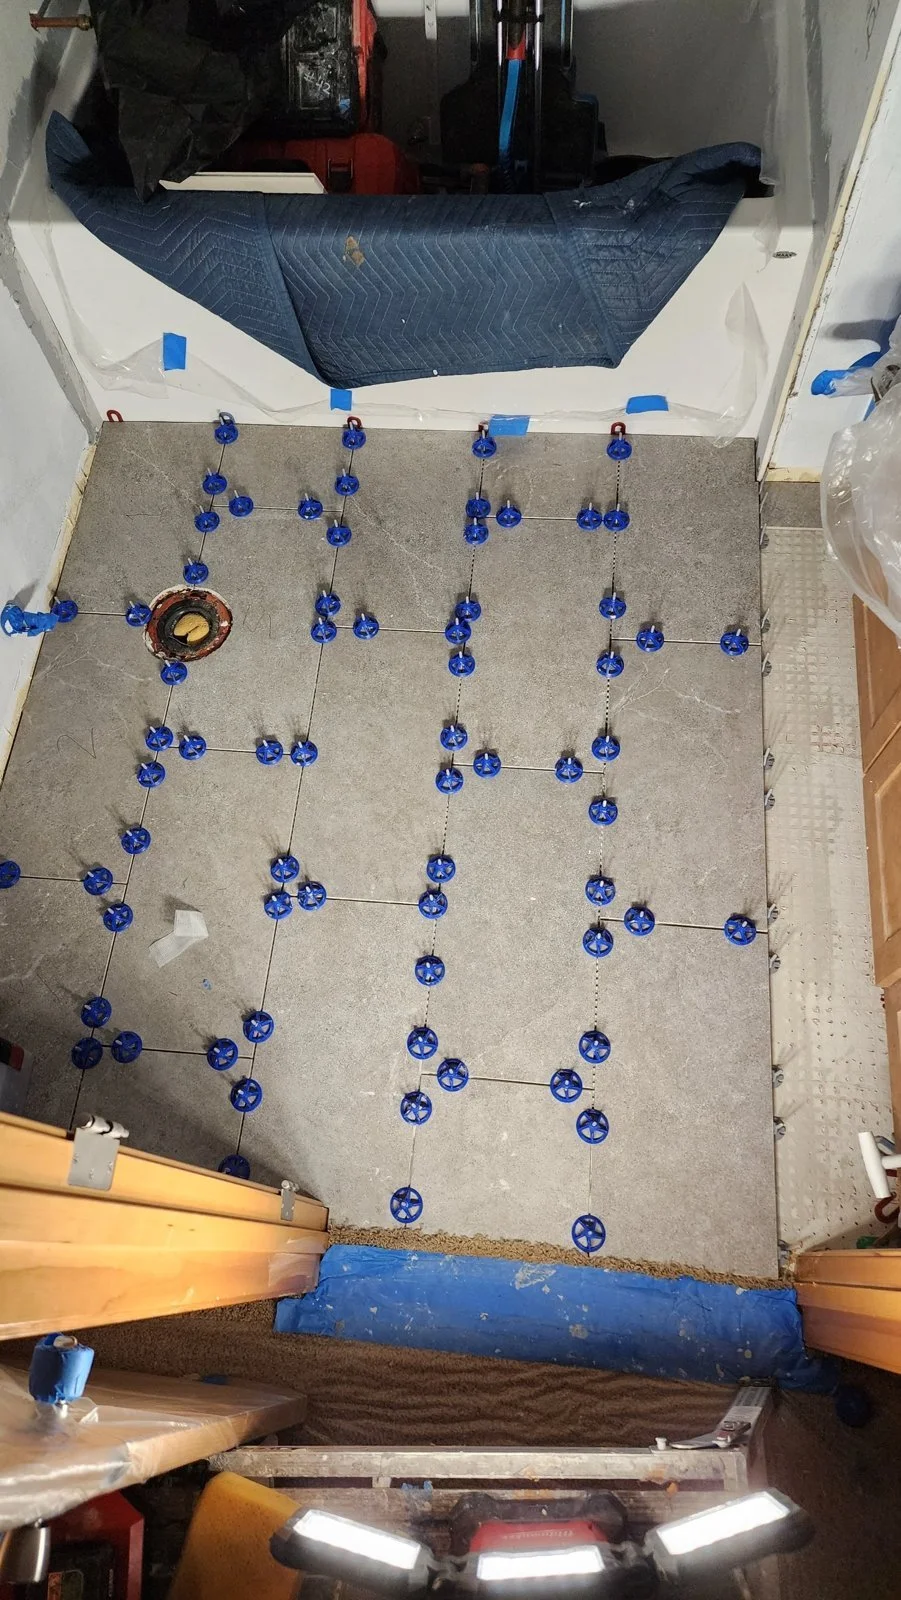
Then the fun part. This floor uses large gray tiles in a staggered pattern. The blue clips at every joint keep the edges even with each other while the thinset sets up.
Big tiles show every little high spot, so each one gets checked.
A closer look: tiles tapped down flush with a rubber mallet. The leveling pieces come out once everything cures.
Grout day
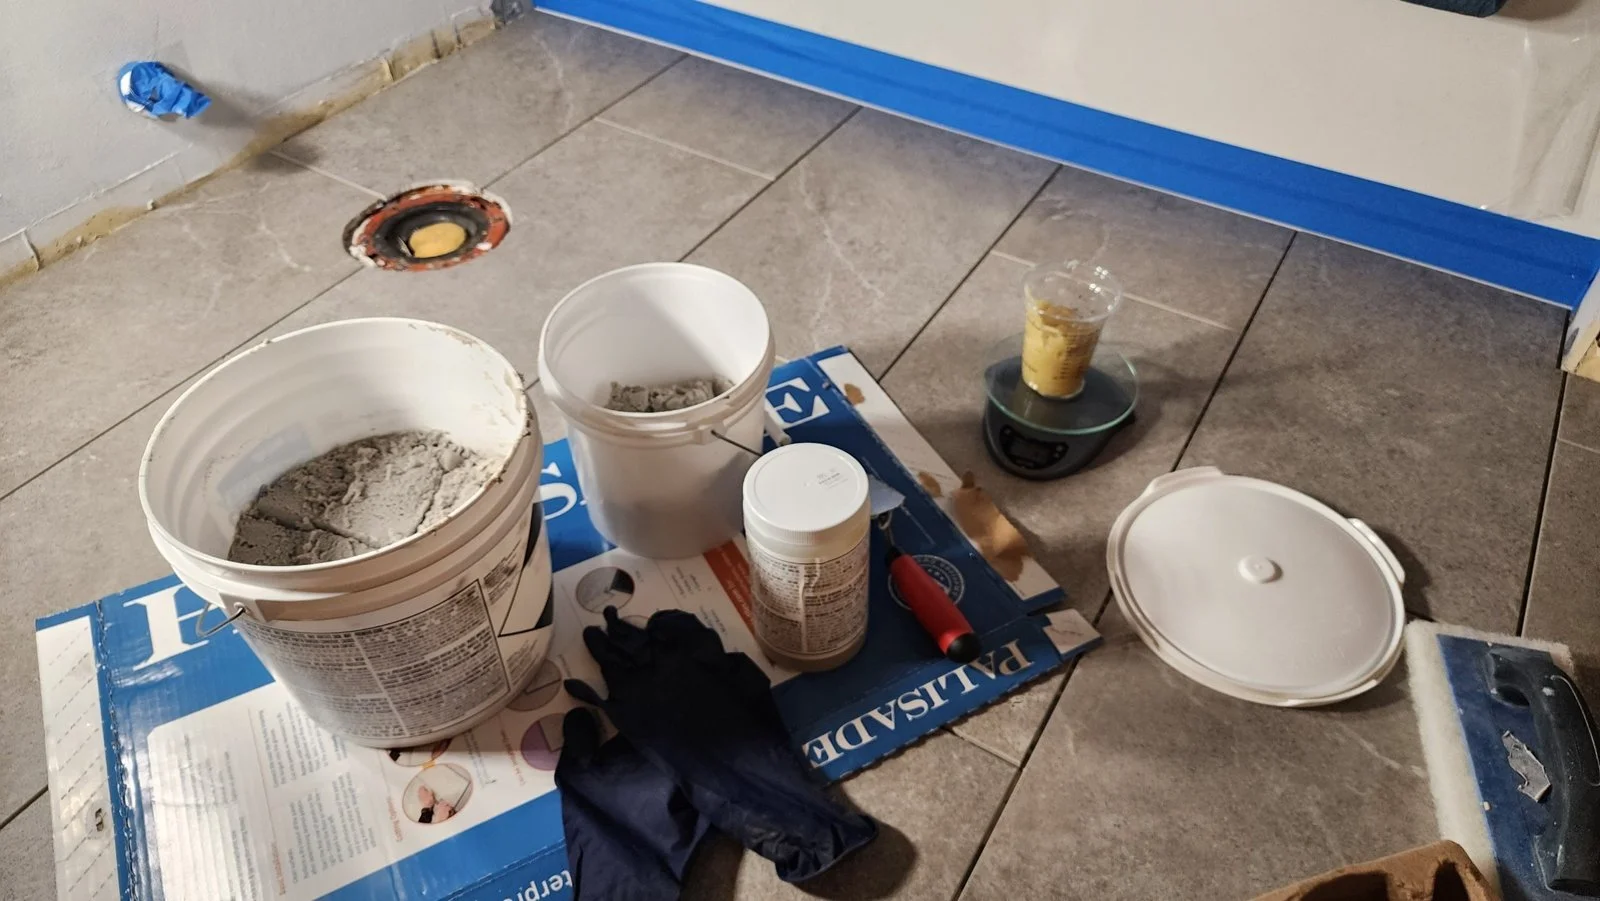
Before grouting, the tub got taped off and the drain capped.
Every batch of grout went on the scale, so the color stays the same from one corner of the room to the other.
The finished floor
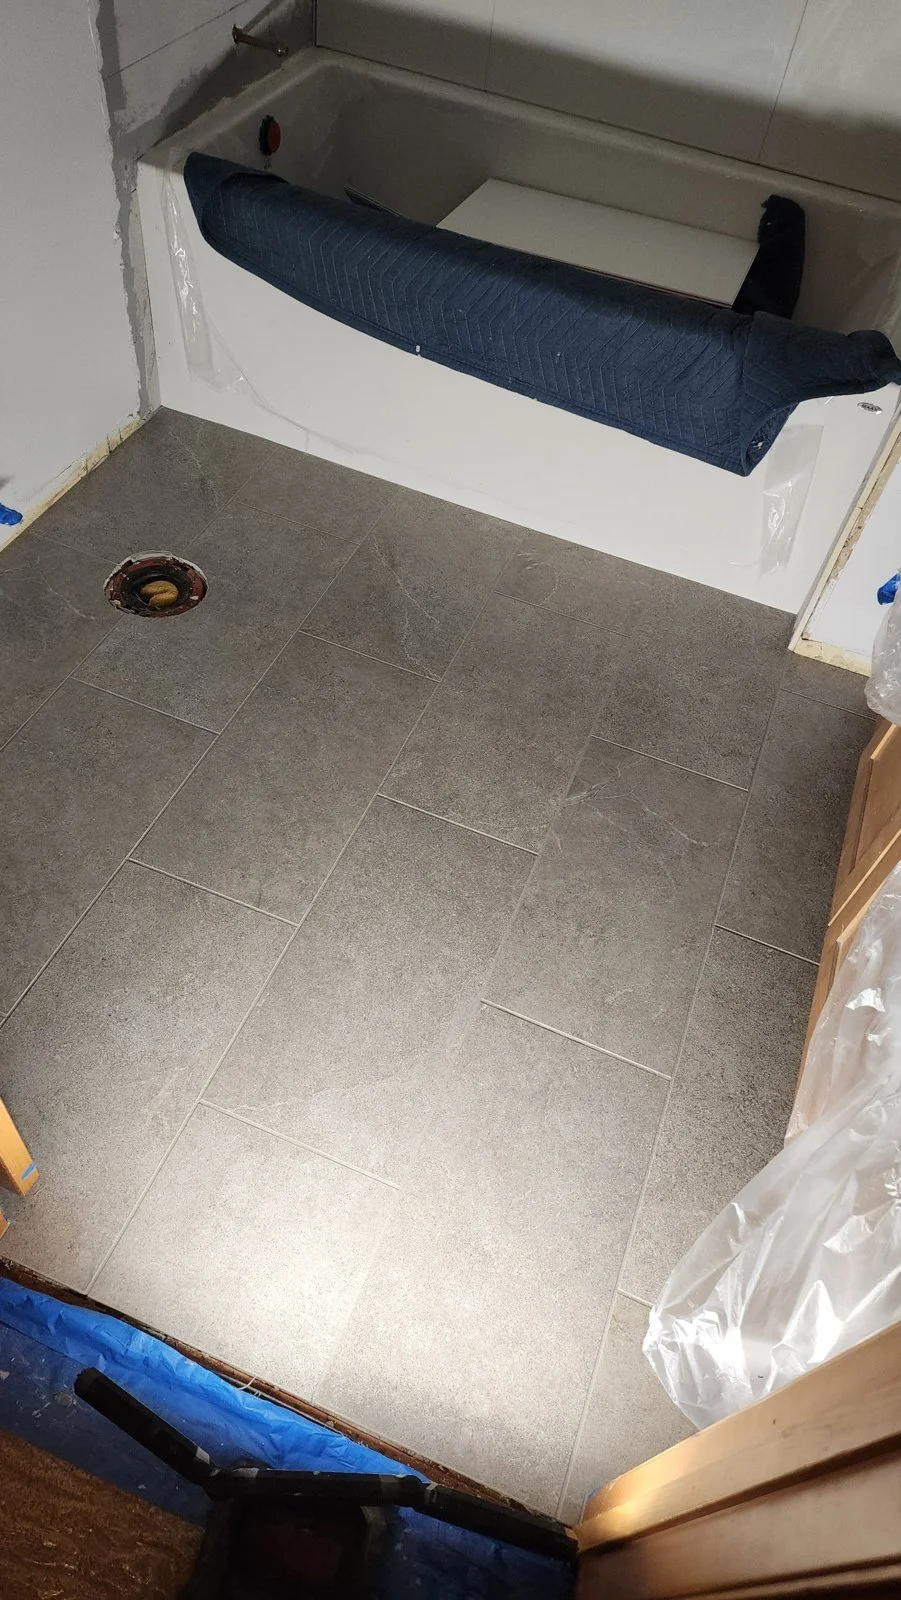
And here it is: flat, solid, and lined up from the tub to the door. Next up are the toilet, trim, and finishing touches. All that hidden work underneath is what keeps it looking like this for years.
Thinking about a bathroom update?
We'll walk the space with you, talk through options, and put the scope in writing before any work starts. Call us at (360) 933-1011 or reach out through our website.
